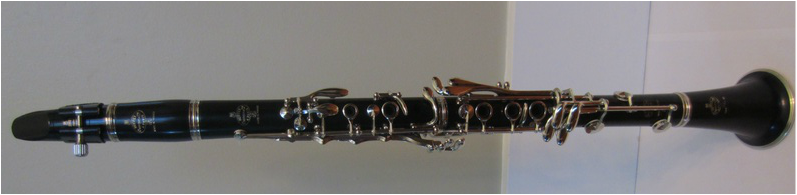
Parts of your Clarinet
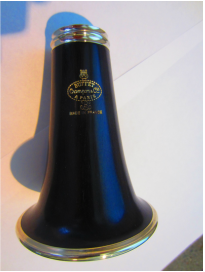
The Bell
The bell is the cone or bell- shaped part of the clarinet and is the lower most piece of the clarinet.
|
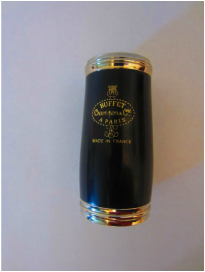
The Barrel
The barrel is a small section of the instrument that connects the upper joint to the mouthpiece.
|
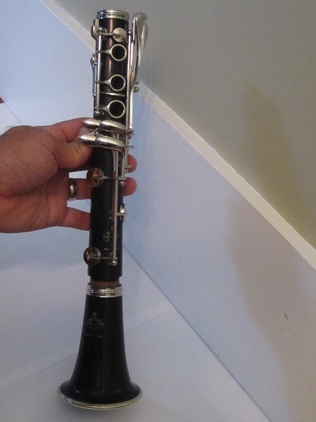
Lower joint
The lower joint is the longest piece of the clarinet. It has only one cork tenon which faces downwards and attaches to the bell, and it has a bridge key which points up toward the upper joint. There are no keys on the back of the lower but there is a right thumb rest which is used to support and balance the instrument while it is being played.
|
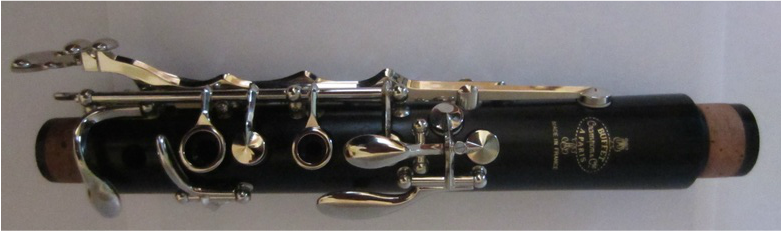
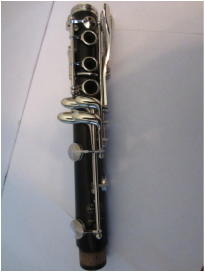
The Upper Joint
You can identify the upper joint because it has a cork on both ends (called the tenons), and should be slightly shorter than the lower joint. It also has two keys on the back of it: the thumb hole and the register key. There is a bridge key which hangs over the connection point at the bottom, which is an important spot to take notice of when assembling the clarinet. There is a larger amount of space between where the keys end and the top of the upper joint where it connects to the set-up.
The Setup
The Setup refers to the reed, the mouthpiece and the ligature. The setup is one of the most important parts of the clarinet. With the embouchure and air the setup is what provides the clarinet with its characteristic sound. The rest of the instrument is simply an amplifier of what the setup produces.
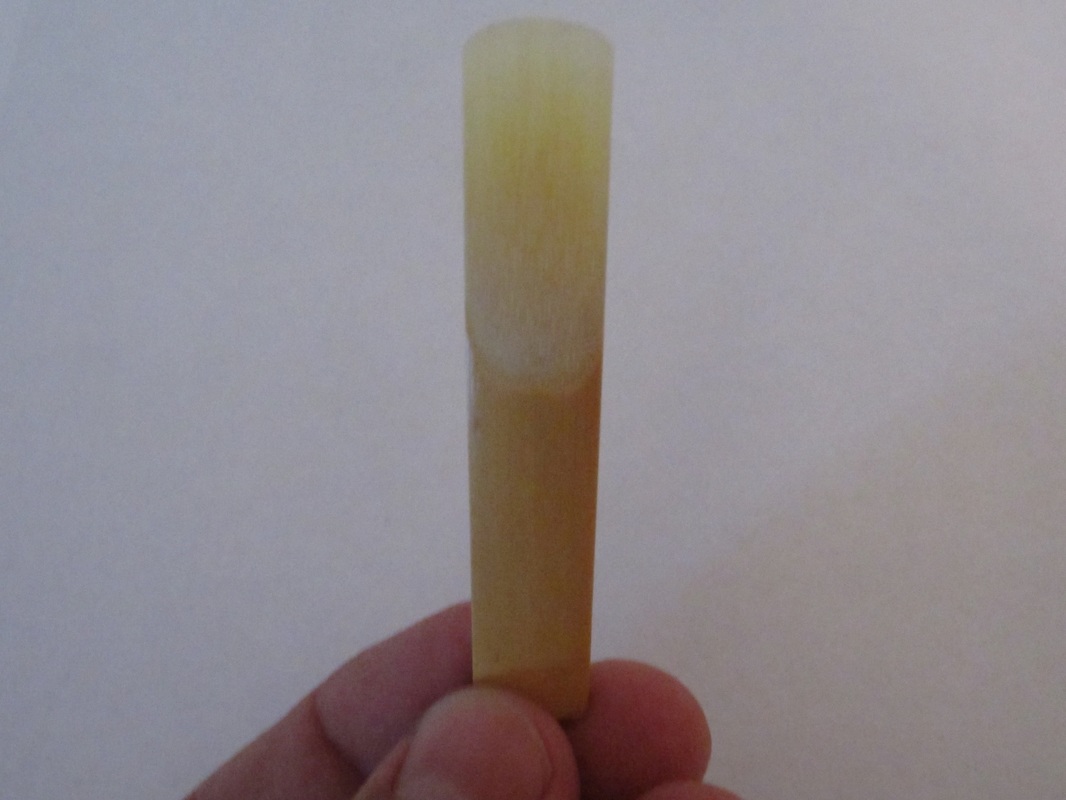
The Reed
|
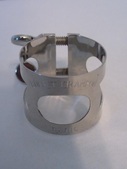
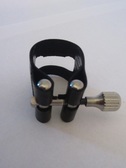
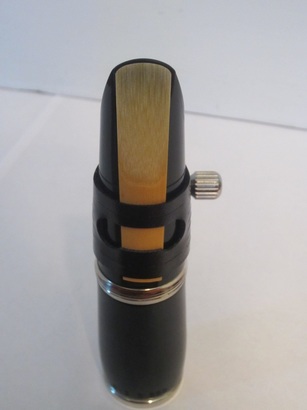
The Ligature
There are many types of ligatures shown here are a rovner leather style (right) and a metal band style(left) both are good!
|
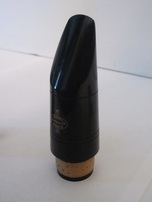
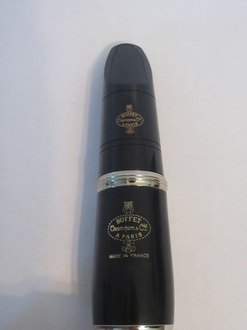
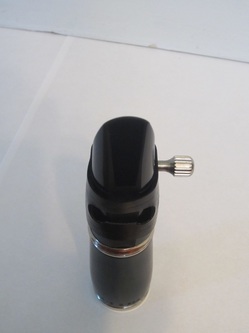
The Mouthpiece
|
Matching the correct strength reed to the correct mouthpiece is important. Mouthpieces have varying amounts of space at their opening, between the reed and the tip of the mouthpiece. Because of this, you will want to choose a reed that has a strength appropriate to the mouthpiece opening.
There are also many types of ligatures, the device that is used to hold the reed onto the mouthpiece. Most ligatures that you first see are metal, but you could also come across leather, rubber and even string ligatures.
Above, is an example of two different ligatures. Notice how on one, the screws are on the bottom and on the other the screw is on the top. It can be confusing at first to determine where the ligature screws should go. The rule of thumb is you will always tighten the screws with your right hand when the mouthpiece is facing you.
For more information on set ups go to the downloads page
Get it together!! Putting all those parts together.
|
Before you begin to put together your clarinet, you should first choose the reed the you will be using and place it on your tongue, tip end first. This will moisten up the reed and allow it to work correctly . By the time you have assembled the body of your clarinet, the reed will be ready for your set-up.
|
|
|
Start with the Bell and lower joint
|
Putting together the upper and lower joint
|
|
|
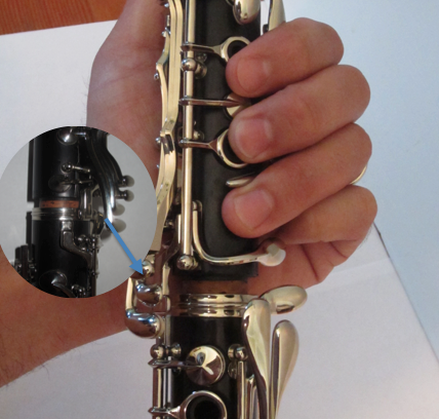
Be careful! Between the upper and lower joint there is a bridge key.
- Holding down the bridge keys on the upper joint, attach it to the lower joint using the same twisting motion you used to assemble the bell.
- With the upper joint in your left hand and the lower in your right, hold each joint parallel to the ground.
- Grip the upper joint by wrapping your fingers under this section and around the large ring key, which should raise the bridge key when you depress it. This is essential to get the two pieces to fit together without damaging the bridge key.
- Hold the lower joint with your right hand on top of the piece, just below the cluster of keys in the center of the piece, and over the two large keys toward the bottom.
- The bridge keys should be facing toward you and should be in line. While holding down the bridge keys in your left hand, use a gentle pushing and twisting motion to attach the two joints.
- The metal rod that runs the length of each joint should be perfectly lined-up. The bridge keys will be lined up too!
Putting the mouthpiece, ligature and reed on
Begin by connecting the barrel to the mouthpiece with a pushing and twisting motion. With the barrel attached, you will have more to hold on to and it won't be as easy to drop the mouthpiece.
|
Put the ligature on the mouthpiece make sure the screws are loose.
Be sure the screws are to your right (It's better to put the ligature on first before the mouthpiece so you are less likely to damage the reed.) |
|
You DID it! The Clarinet is now assembled!! |